
5 Tips to Properly Manage your Design Files 2023
Este contenido aún no ha sido traducido al Español. Te mostraremos la versión en inglés a continuación.
Imagine this: the final design review is happening this morning, and there's a mistake you want to modify. Time is almost up, but you still can't find the original file...
Knowing how to keep your design files organized is a crucial skill for designers. Not only you can avoid the situation above, but also accelerate your workflow, create a favorable impression in minds of clients, making you a top designer.
To do that, you can apply the following five tips and try a useful software I've found recently to manage your design files. Happy reading!
Related article: 11 Productive Tips to Make the Best Use of Eagle
Step 1 - Declutter the desktop
Your desktop should remain clutter-free, only containing your most frequently used folders and a few other essential functions like the trash/recycle bin.
Also, you should NEVER use your desktop as a default save location. A default save folder is the most cluttered and chaotic folder on your computer, if you use the desktop as it, the savings will surely block other important folders and affect your work efficiency.
So, here are some suggestions to declutter the desktop:
- Before you start deleting files, take time to prioritize your files and folders. You can do this by right-clicking on an empty area of your desktop and selecting “Auto arrange icons”, then hovering on "Sort by" and selecting "Date modified". This will organize your files into a grid format and by the date, they were last opened, making it easier for you to see and work with them.
- Create a folder for all non-essential or temporary files. Once you are done with the item, delete it. This will make your desktop tidy and neat.
- Examine your desktop and uninstall programs you no longer use, delete images you don’t need, move unimportant files, and place the rest in relevant folders, be ruthless.
- An interesting way to minimize clutter is to pick a wallpaper that you enjoy looking at. Frame the image so the focus is in the center of your desktop. If you can’t see the image, then you have too many files and icons, and it may be time to get rid of a few.
Step 2 - Create a structured folder
After decluttering the desktop, we can start re-structured our folders now. The hierarchical file structures can add additional organization to your files, and help you make the most sense of your data.
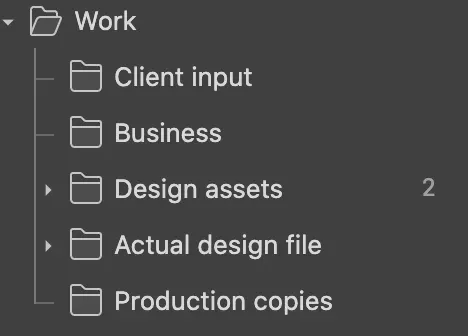
Image from Eagle/ Create a structured folder
Make sure you have a work folder and separate them into different uses, such as client input, business, design assets, actual design files, and production copies, take mine as an example:
- Client input: This is everything I received from clients in the course of a project, containing files, documents, notes, or hyperlinks. They will guide you in the right direction and make sure your project meets your clients' expectations.
- Business: This folder is for commercial-related files, including deadlines, timeline schedules, estimates, or proposals.

Image from Eagle/ Business folder
- Design assets: Here's where I put all the resources that will appear in the final layout of the design. Can be anything from icons, vectors, templates to photos.
- Actual design files: This category will contain the design projects that I'm working on, whether it's finished or in their construction stage. More classification rules about this folder will be explained in the following paragraph.
- Production copies: All final files for delivery to the client. I will convert them into printer-friendly formats or presentable files via a projector, depending on their use.
Having a structured folder helps you manage better with multitasking projects, and you will find it much easier to walk through various stages of work.
Step 3 - Save changes as separate files
Never save changes over the original. Save a copy BEFORE you start making your edits. By using the "Save as…" command to save them under a new version. This way, you can ensure to work on the new one and not overwrite the original. You'll keep track of any version you made and make it easier if there's any sudden requested revision. And of course, this will keep your file organized.
Step 4 - Name your files properly
Get consistent with naming so that you don't need to memorize a bunch of filenames to know how to find them. The best practice to file naming can be followed by these rules:
- Files should be named consistently
- File names should be short but descriptive (<25 characters)
- Avoid special characters or spaces in a file name
- Use capitals and underscores instead of periods or spaces or slashes
- Use date format ISO 8601: YYYYMMDD
- Include a version number
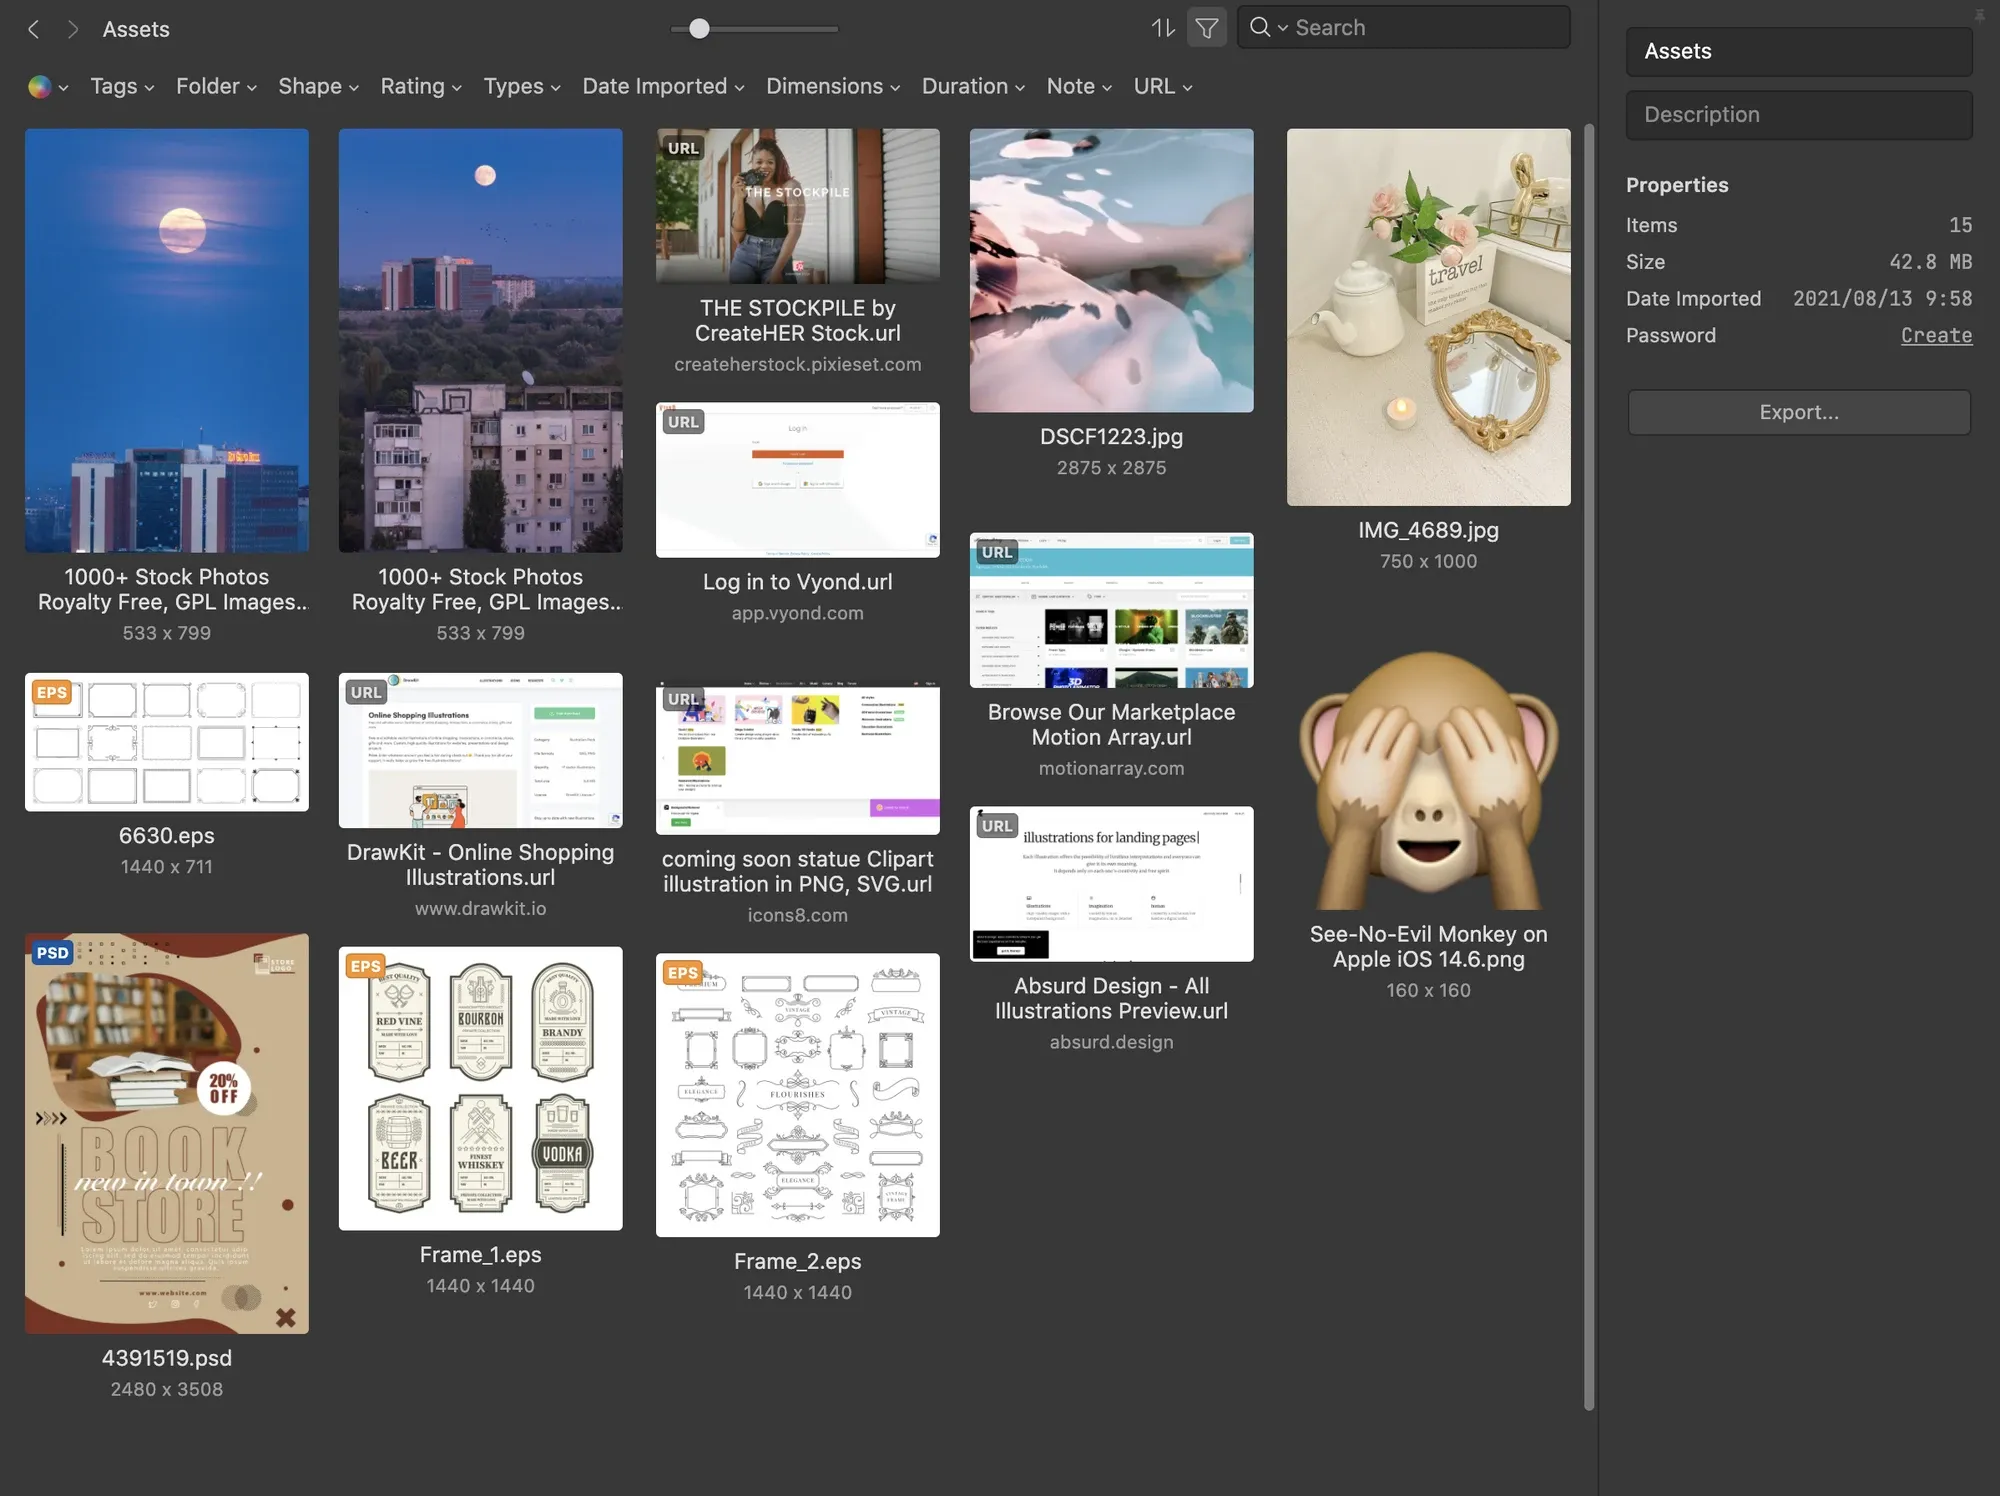
Image from Eagle/ Name your files properly
As for naming conventions, remember to avoid using the word "final" to the final name which can be confusing when repeating the project several times. The better way to name your files is by adding numbers to the filename whenever you make an alternative of it. This way you can easily find the latest version, just by looking up the highest number of filenames.
Or you can consider using these elements in a naming convention:
- Date of creation
- Version number
- Short Description
- Work
- Location
- Project name or number
Here are two examples:
-
YYYYMMDD_Image_Modification
20210906_brian_original.psd 20210906_brian_cropped.png 20210906_brian_mustache.png
-
LocationAnalysisVersion
NewyorkDropboxV1 NewyorkMapV1 NewyorkMapV2
Step 5 - Use collaborative docs
Besides saving changes in different files, I also record them on collaborative files. This way, I can make sure that I and my team members are on the same page. We can share the same notes that we've taken on the images and can have a brainstorm. Furthermore, this will sure to help us deliver better work!
Looking for places to store your inspirations? Eagle is here to help!
The above tips can help you work perfectly on a small scale. But if you're working on extensive projects, I will recommend a powerful software named Eagle that I've used for months.
✔️ It can automatically organize my inspirations in its library with the browser extension.
organize files → tag, annotate
✔️ Have a strong folder structure system, that helps me save a lot of time by applying the above tips.
✔️ It can also "batch rename" files, which is a super helpful feature to apply.
Highly recommended for all the designers! They also offer a 30-day free trial: eagle.cool/
It takes time to re-organize files, but it's worth it. Create structured folders, rename them, and remember to save the changes separately, your own powerful inspiration library is on the way!
Artículos relacionados